Popcorn Ceiling Removal South San Francisco, CA

Popcorn Ceiling Removal South San Francisco, CA

Drywall Fam offers complete popcorn ceiling removal services in South San Francisco, CA from beginning to end. If you would like an estimate to remove your popcorn ceilings for your South San Francisco home call or text us at (707) 346-9654. The process of getting an estimate for popcorn ceilings used to be a little more time consuming. Now, all you have to do is call or text and we will ask you some questions and you will receive your estimate within 30 minutes.

Below we will explain a little more about the process and receiving a estimate and the process of removing those nasty popcorn ceilings through out your south San Francisco, CA home.

Popcorn Ceiling Removal Process in South San Francisco, CA

Step 1:  Preparing the Job Site

Popcorn ceiling removal is a messy job! Preparing your home or commercial building is a key essential to a quality job and a clean outcome. You first want to remove anything hanging on your walls: pictures/frames, paintings, valuables, etc.. Also, remove anything you may display on the top of your kitchen cabinets and countertops. Next you will want to rearrange your furniture for easy navigation of the room during the removal process. However, it is best to remove all large furniture from the room entirely.
 

Step 2: Masking Rooms

Again, we must stress! Popcorn ceiling removal is a messy process! Along with prep work – masking rooms properly is an essential part to containing the mess that goes along with removing popcorn from your ceilings.
 
Covering your floors is the first step in the Masking Process. We first lay down a layer of plastic on our projects to cover the entire floor. Next we lay down drop clothes on top of the plastic to cover the floors entirely. Only doing drop clothes will work just fine. However, we prefer the additional layers for added protection from the messy popcorn removal process!
 
Once we have completely covered your floors we cover any furniture left in the room with plastic and tape it to the floor. Then cover the furniture with drop clothes as well.
 
Next we want to tape and mask your walls. As we have mentioned; Removing the old popcorn is a huge mess! Basically, we want to contain the mess from the ceilings by covering absolutely everything in the room.
 
We use painters tape and run a strip at the very top of the wall, just below the ceiling. Once we have done a strip of tape around the entire room, we then take 9′-12′ foot plastic that typically comes in 400’+ rolls and tape it on top of our pre-ran tape strip. We then hang the taped plastic down the walls from the ceiling and tape it to the floor. Completely covering the walls and enclosing the room.
 

Step 3: Scraping Ceilings

Let the mess begin! Once everything is completely covered it is time to start scraping the popcorn from the ceilings. The difficulty of this process will be determined based on whether the popcorn on your ceiling has been painted or not. Popcorn ceilings that have been painted are always more difficult to remove. Popcorn ceilings that aren’t painted will sometimes easly scrape right off with a drywall tape knife. However, on most ceilings we use an applicator and mist the ceilings lightly with water and let it sit a few minutes. Once the water has soaked into the popcorn texture, it is quite easy to remove with just a drywall tape knife. This process WILL NOT stain your ceilings drywall. As it is sprayed light enough to just penetrate the popcorn texture.
 

Step 4: Ceiling Drywall Repairs

After the popcorn is completely removed from the ceilings we check the ceilings for any cracks, stains, or loose drywall tape. We make all necessary drywall repairs to the ceilings and let dry.
 

Step 5: Ceiling Texture Installation

Now it’s time to apply a new sleeker and updated looking texture. We specialize in a variety of different ceiling textures. Two of the most popular ceiling textures that we do are Smooth Ceilings and Knockdown textured ceilings. With Smooth ceilings we skim coat a thin layer of drywall compound on the ceilings and sand smooth. This creates a crisp and modern looking ceiling. Knockdown texture is applied using a hopper rig. We create a joint compound that we spray on the ceiling. This splatter that is sprayed on the ceiling creates a pattern type of texture. We let that sprayed compound partially dry and then we smooth it out (knock it down) creating a smoothed textured looking pattern. This makes for a clean and bright ceiling!
 

Step 6: Prime & Paint

With all the popcorn removed and the new texture applied to the ceiling; all that is left to do is prime and paint! Yes, we even handle painting the ceilings!
 
Even after all the mess we just created removing the popcorn from the ceiling the plastic is still up. This is perfect for getting ready to spray the ceilings with primer and paint. Drywall can absorb a lot of paint so it is beneficial and cost effective to prime the ceiling first before painting. We are excellent painters and we use professional paint spray rigs. These professional sprayers allow us to paint ceilings with ease. No matter which ceiling texture you go with. Once painted they are cleaner, brighter, and more beautiful than ever!
 

Step 7: Cleanup

Once the paint has dried we remove all of the plastic from the walls. We carefully remove the masking from the floors and haul the popcorn debris away. Our process does an excellent job of containing the mess. However, once everything is out of the work area we finish the job with a thorough clean up, vacuuming, wipe down, and mopping. Leaving your home or commercial building pristine with a new and amazing looking ceiling!

Frequently Asked Questions

Over the years Drywall Fam has received many questions concerning popcorn ceiling removal in South San Francisco, CA so we have put a list together for you so you may learn a little about popcorn ceilings. Remember if you have any questions feel free to call or text us at (707) 346-9654. Thank you!

For popcorn ceilings it is really simple to estimate right over the phone or by text. We have done many popcorn ceilings removals.

The cost to remove popcorn ceiling for a 12’x14′ room with 8′ standard ceiling height, roughly $800-$1,400.00. That is to mask off, remove popcorn ceilings, skim, touch up and texture.

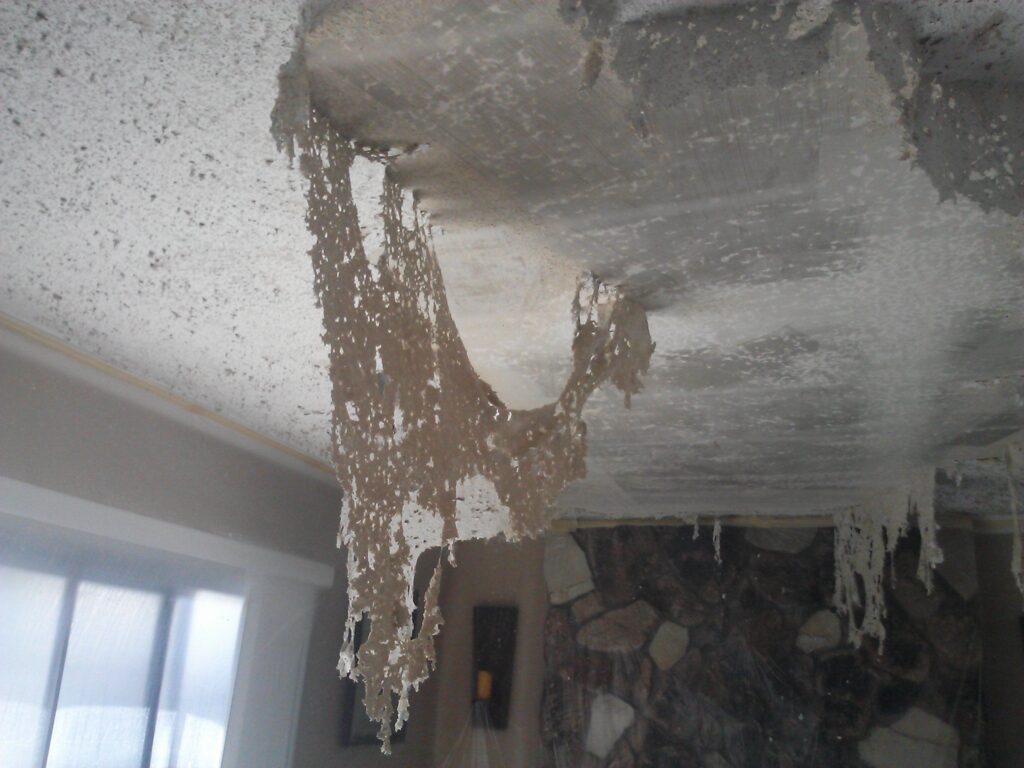
Popcorn ceilings don’t last forever and they do eventually disintegrate. When this starts to happen, you’ll see white flecks fall from the ceiling onto your belongings. This debris does damage surfaces, so it’s important to replace or remove popcorn ceilings soon after any disintegration begins.

Smooth ceilings add visual height and spaciousness to rooms and hallways. In contrast, stippled or textured ceilings draw your focus to the texture, making the room seem smaller. Spaces with smooth ceilings maximize the light.

After the popcorn ceilings are removed the most popular finish is level 4 smooth or a very light orange peel texture.

Since a ceiling texture can help hide imperfections, a level 4 or 5 smooth finish requires a lot more work. And this of course means a higher cost. Extra labor will be required to skim the entire ceiling with drywall mud, and then sand every square inch of ceiling.

During the era when textured ceilings were popular, builders used them in homes because they were inexpensive and could hide imperfections with ease. Popcorn ceilings were made to bolster the room’s acoustics via the reduction of ambient sounds and echoes.

Knockdown. The knockdown wall texture has quickly become one of the most popular choices for homeowners. The application is simple, and the result is a warm-feeling texture that adds depth to any space. It’s a texture that looks like it belongs in a Mediterranean.

Popcorn Ceiling Removal Estimate South San Francisco, CA

Popcorn Ceiling Removal Estimate South San Francisco, CA

Here at Drywall Fam we have made it more simple for you get an estimate right over the phone or text. We will ask some questions about the popcorn ceilings and have a estimate sent right over to you. We have removed many popcorn ceilings in South San Francisco and we know the drill when it comes time to estimate.